Authorise a group of developers to create new Azure resources
Our company Azure hosts an Azure AD which we use for Office 365 and also as the authority for who can do what in Azure itself. A few staff are set as Azure admins, but many other developers need the right to log in with Azure PowerShell to create new resources. This is a guide to authorising those users.
1. Create an Azure AD Group
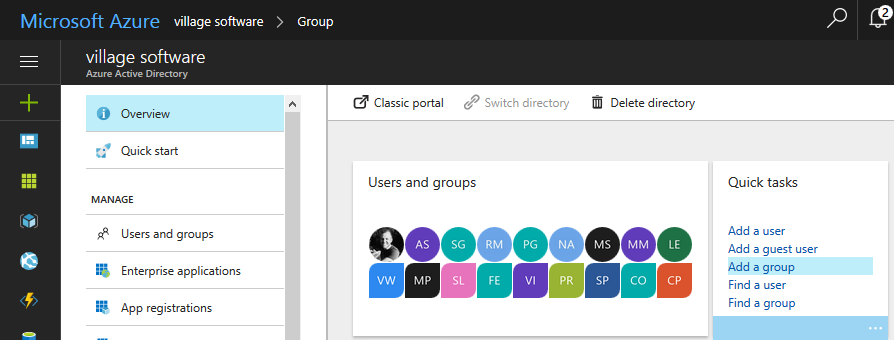
In the portal, first make sure you’re on the right AD (click your profile pic in the top right corner). Go to Azure AD in the main sidebar. When the blade opens, go to Create Group.
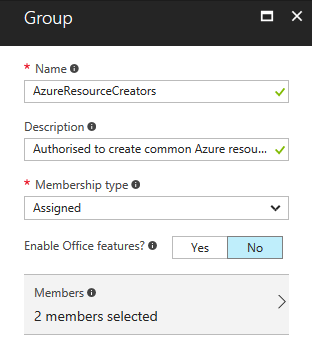
Give it a name and description, and select some Members. My ‘Membership type’ dropdown only offers ‘Assigned’. These users already have access to Office365 and I didn’t want to mess with that access here, so selected ‘No’ for ‘Enable Office features’. Click Create.
You can check the group by going back to the AD blade, and selecting Users and Groups then All groups from the blade sidebar.
Incidentally, if you have any Microsoft Teams (chat groups) set up, they will appear here as ‘Office’ type groups. However, these cannot be used for the next step.
2. Add the group to IAM
Close any blades you have open.
- From the portal sidebar, go to Subscriptions, and select your current subscription.
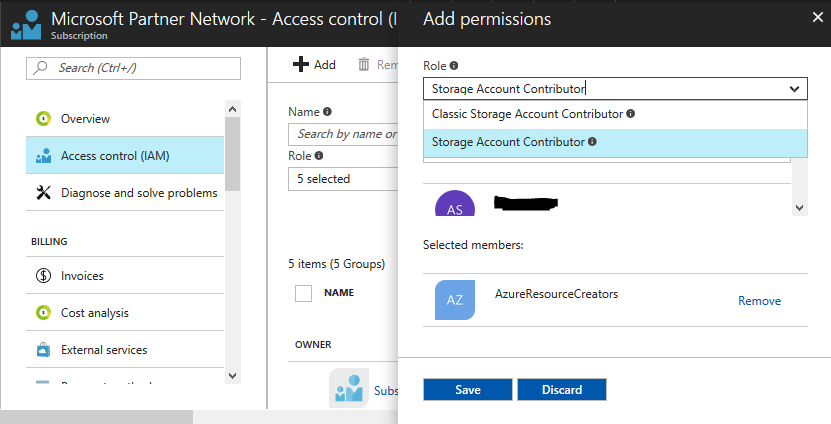
- In the blade sidebar, pick Access control (IAM)
- Click + Add at the top of the blade
- Pick the first role you want to grant to the group, such as ‘Website Contributor’. Hovering over the little
(i)next to each Role in the list will give you more info. The main one you want to avoid is ‘Security Admin’ - Now select the AzureResourceCreators group (or whatever you called it) and click Save
You can repeat steps 3 to 5 for each role you want to grant to this group. I used:
- Web Plan Contributor
- Website Contributor
- SQL DB Contributor
- SQL Server Contributor
- Storage Account Contributor
This is tailored to our deployments. If you work a lot with VMs, you will also want to add, for example, Virtual Machine Contributor, and Network Contributor.