🎏 This post mentions Glitch, which has now shut down. Check my After Glitch page.
My First PWA
A Progressive Web App is a website which you can pin to your homescreen and use offline like an app. To make a website into a PWA, you have to add some metadata and a script. I’m gonna boil these down to the absolute minimum - this example is a simple single page app with just an index.html.
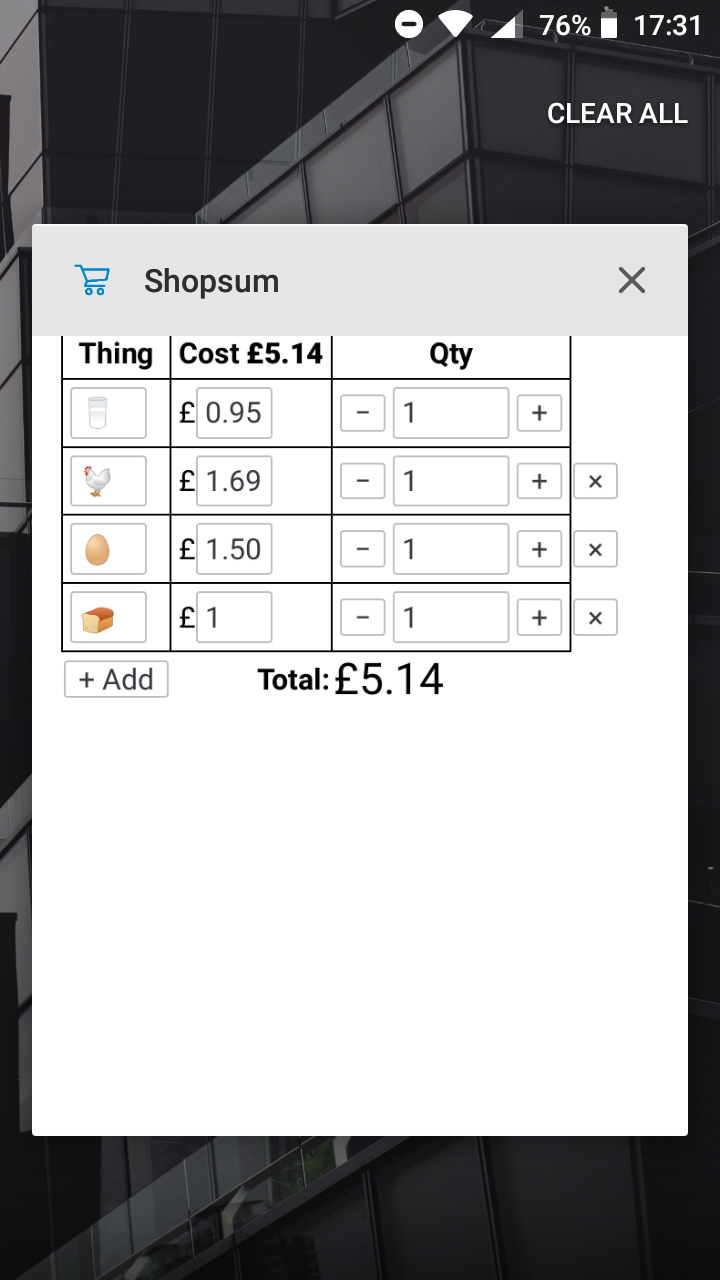
tl;dr You can find my app’s source on Glitch at https://glitch.com/~shopsum
1. Your site must be HTTPS
Tough but true. If you can’t get HTTPS set up easily on your host, consider moving to Netlify, GitHub pages, Azure Websites, or even Glitch. All of these are HTTPS by default and most are free!
2. Add a manifest.json and link to it from your HTML
Here is a minimal example file:
{
  "name"              : "MyApp",
  "short_name"        : "MyApp",
  "description"       : "Faith, hope, love",
  "start_url"         : "/",
  "display"           : "standalone",
  "orientation"       : "any",
  "background_color"  : "#FFF",
  "theme_color"       : "#FFF",
  "icons": [
	{
	  "src"           : "/img/android-icon-512.png",
	  "sizes"         : "512x512",
	  "type"          : "image/png"
	}
  ]
}
You don’t need an icon, but if you have one, edit the icons/src above. You can add more icons at other sizes.
The display can be:
fullscreen(like a game)standalone(like a native app)minimal-ui(has some browser controls)browser(like a browser tab)
3. Add a Service Worker
Don’t panic, it’s easy!
If your site already has a main.js or client.js or some script that runs on the page, add this statement:
if ('serviceWorker' in navigator) {
  navigator.serviceWorker.register('/sw.js');
}
…or else, create a new <script> tag on the page and pop that into it!
Now add a sw.js file to the project matching the location you just registered above:
const version = 'v1';

self.addEventListener('install', function(event) {
  event.waitUntil(
	caches.open(version).then(function(cache) {
	  return cache.addAll([
		'/',
		'/index.html',
		'/style.css',
		'/tachyons.css',
		'/vue.js',
		'/script.js',
		'/notfound.txt'
	  ]);
	})
  );
});

self.addEventListener('fetch', function(event) {
  event.respondWith(caches.match(event.request).then(function(response) {
	// caches.match() always resolves
	// but in case of success response will have value
	if (response !== undefined) {
	  return response;
	} else {
	  return fetch(event.request).then(function (response) {
		// response may be used only once
		// we need to save clone to put one copy in cache
		// and serve second one
		let responseClone = response.clone();

		caches.open(version).then(function (cache) {
		  cache.put(event.request, responseClone);
		});
		return response;
	  }).catch(function () {
		return caches.match('/notfound.txt');
	  });
	}
  }));
});
…and amend the list of files registered by the cache.addAll statement to fit your web app.
4. You did it! 👍
Your site is now offline enabled!
Offline users will only have access to the assets you listed above. So if your setup is more complex, you’ll have to decide where to draw the line. The Service Worker is a robot script that decides how to get resources for the user when they’re offline; Mariko did the best Service Worker explainer ever with cute illustrations to explain what it does.
If you want to make a dedicated ‘Oops, you’re offline’ page, there are other guides for that! (See Sources below)
When you make changes to your app, you have to change the version variable to refresh clients! This can be annoying. Probably someone out there knows a better way! 😅
Sources
I drew on this SitePoint guide, Retrofit Your Website as a Progressive Web App which was pretty simple but not simple enough. MDN’s Service Workers Demo was great because they gave source code of exactly what I wanted to do (so my sw.js is basically cribbed from them - here’s their GitHub source)
Thanks
Thanks for reading. I hope this extremely stripped-down guide was useful for you!