🎏 This post mentions Glitch, which has now shut down. Check my After Glitch page.
Let’s make websites - Part 1
Hi! It’s lockdown – time to learn a new skill! This is going to be a mini course on how to make a website with real tools and processes. Here’s the plan:
- Make our first HTML page and put it online with Glitch
- Expand our site with the VS Code editor and host it with GitHub Pages
- Learn to use Jekyll to make more flexible sites
- Host a Jekyll site with Netlify and install Netlify CMS
Pre-requisites
GitHub is a place to store our code online. It’s popular in business, and knowing how to use it is a desirable skill. Plus we are going to use our GitHub account to log in to Glitch in a moment.
Go to https://github.com and sign up using the form on the front page. Confirm your email and stuff. Once you’ve done that, forget about GitHub for now!
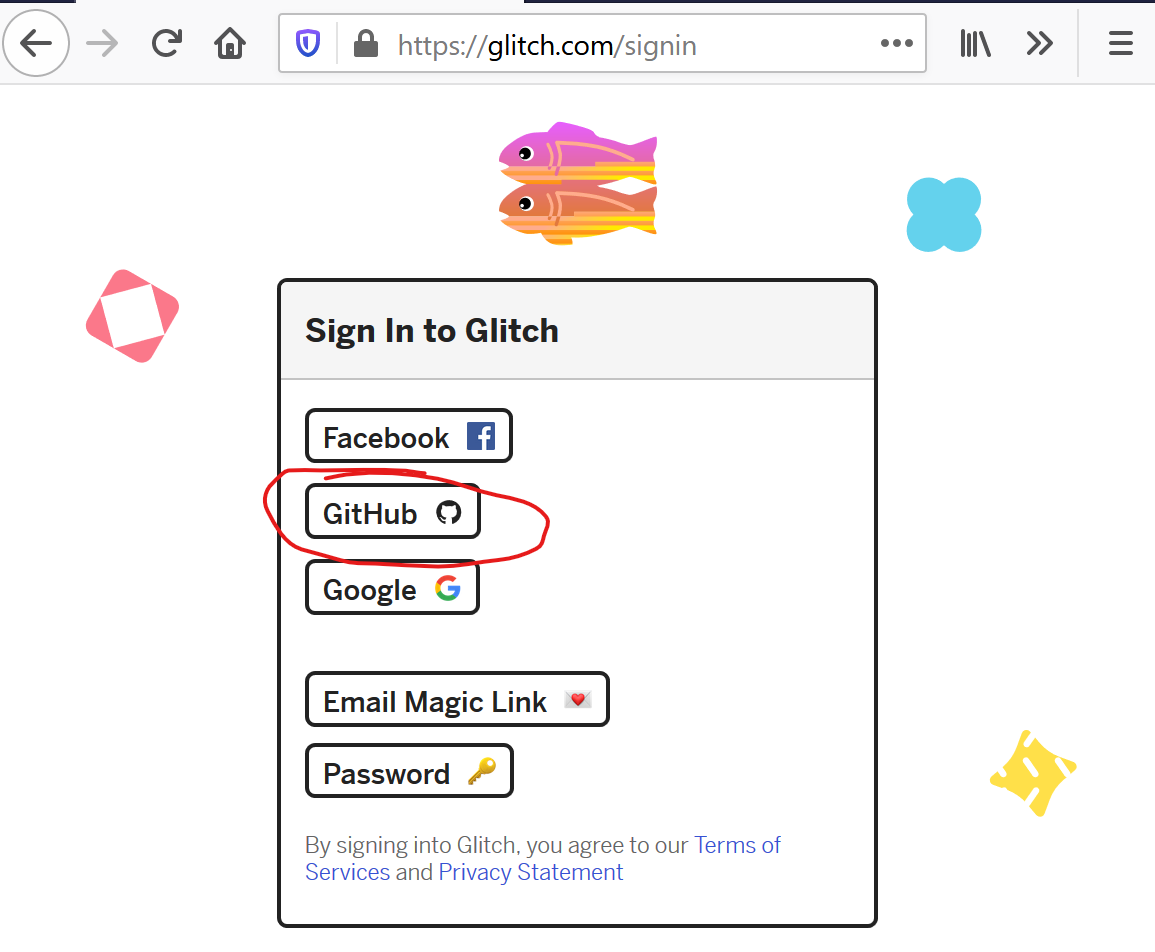
Go to https://glitch.com, click ‘Join Glitch’ or ‘Sign in’ in the corner, and choose to sign in with GitHub on the next screen. Enter your new GitHub credentials and get started!
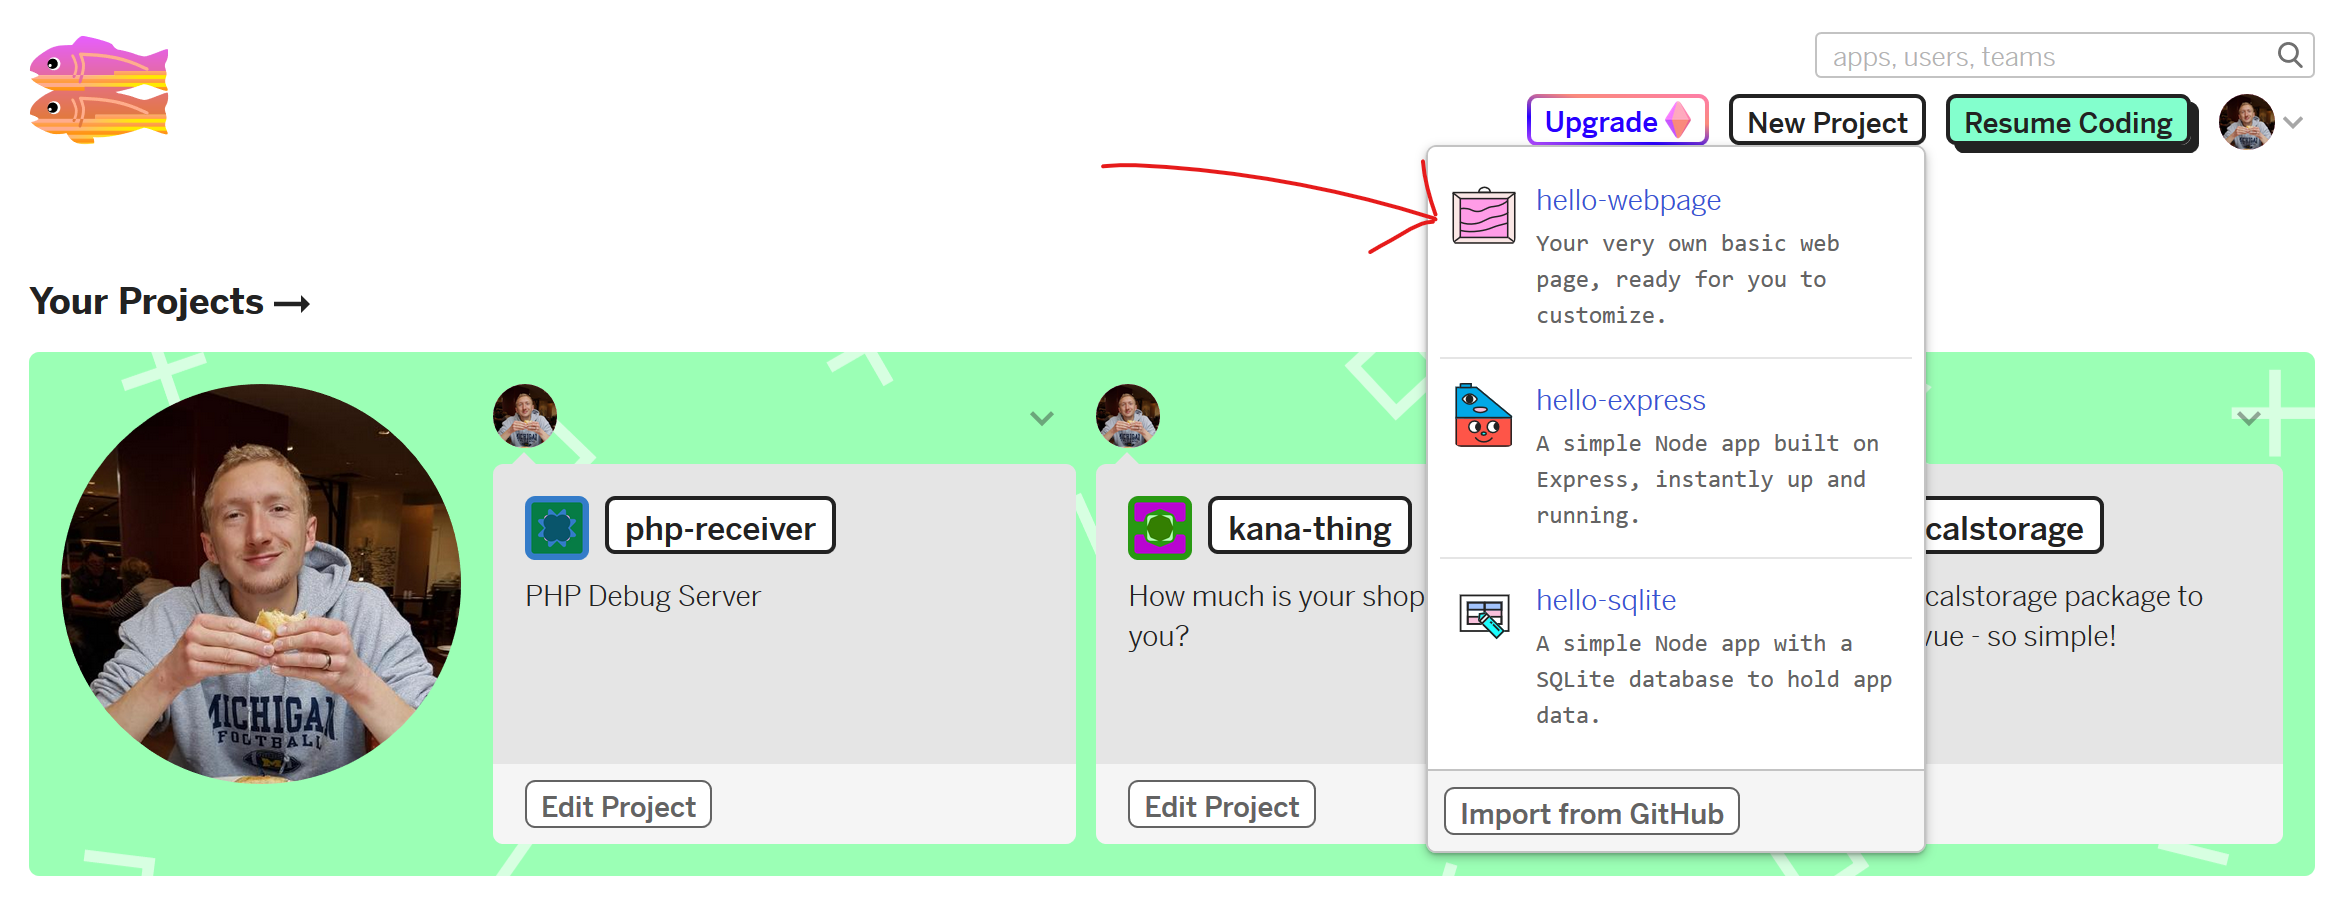
Start a Glitch project
When you’re into Glitch, you should see a ‘New Project’ button like in the shot above. Click it, then choose the hello-webpage starter kit.
You’ll drop into the Glitch editor which already has a few tips about what you’re looking at, how to view your site, etc. Feel free to noodle at this point, and make sure you know how to get your site up in another tab.
Cool thing - this site is already a “real” website, and is online right away with it’s own address! You can change the project name to change the web address. When you make changes, your site updates automatically.
HTML (Hypertext Markup Language)
Now we’re getting into it. Go to index.html in the left nav of the editor.
Take a look at the <body>; this is where the code for visible elements goes. HTML is all about structuring a document.
Let’s talk through some basic HTML vocab:
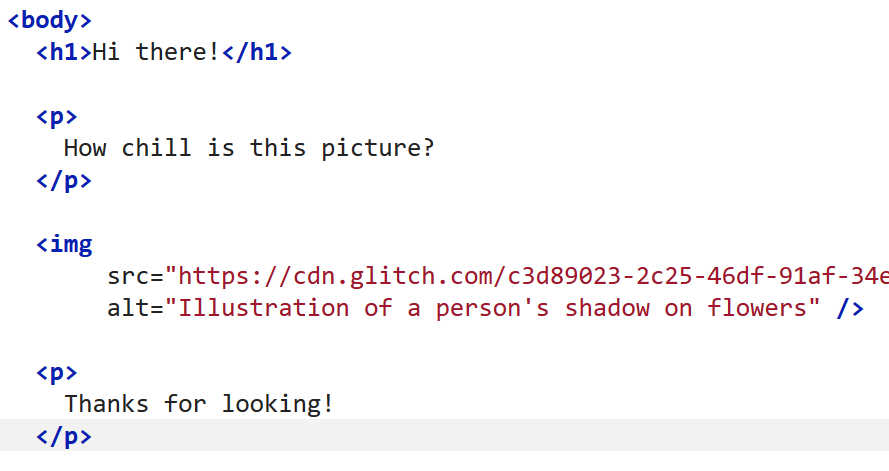
<p>Paragraph</p>p stands for paragraph. Paragraphs format text nicely. Extra whitespace (spaces and newlines) is kind of ignored in HTML, so we useptags to create structure.<h1>Heading 1</h1>is a top level heading. There’s also ah2,h3,h4…<div>Box</div>‘div’ kind of stands for divider, but we use them to box up all kinds of content to add margins, padding, borders, and to make stuff shuffle around for mobile screens.<img src="something.png" alt="Alternative text" \>an image, which has at least a source and an alternative text (for accessibility – screen readers etc.)- This is a self-closing tag, because it doesn’t contain any nested content.
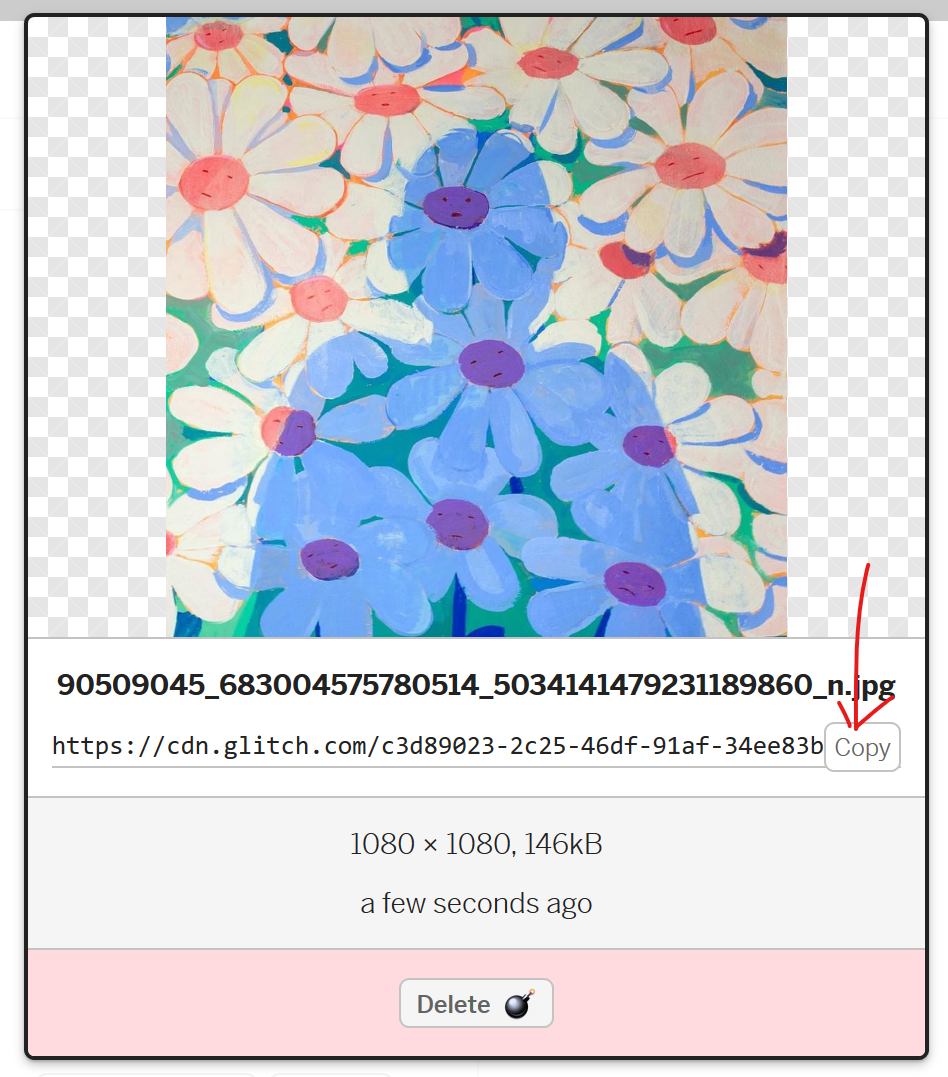
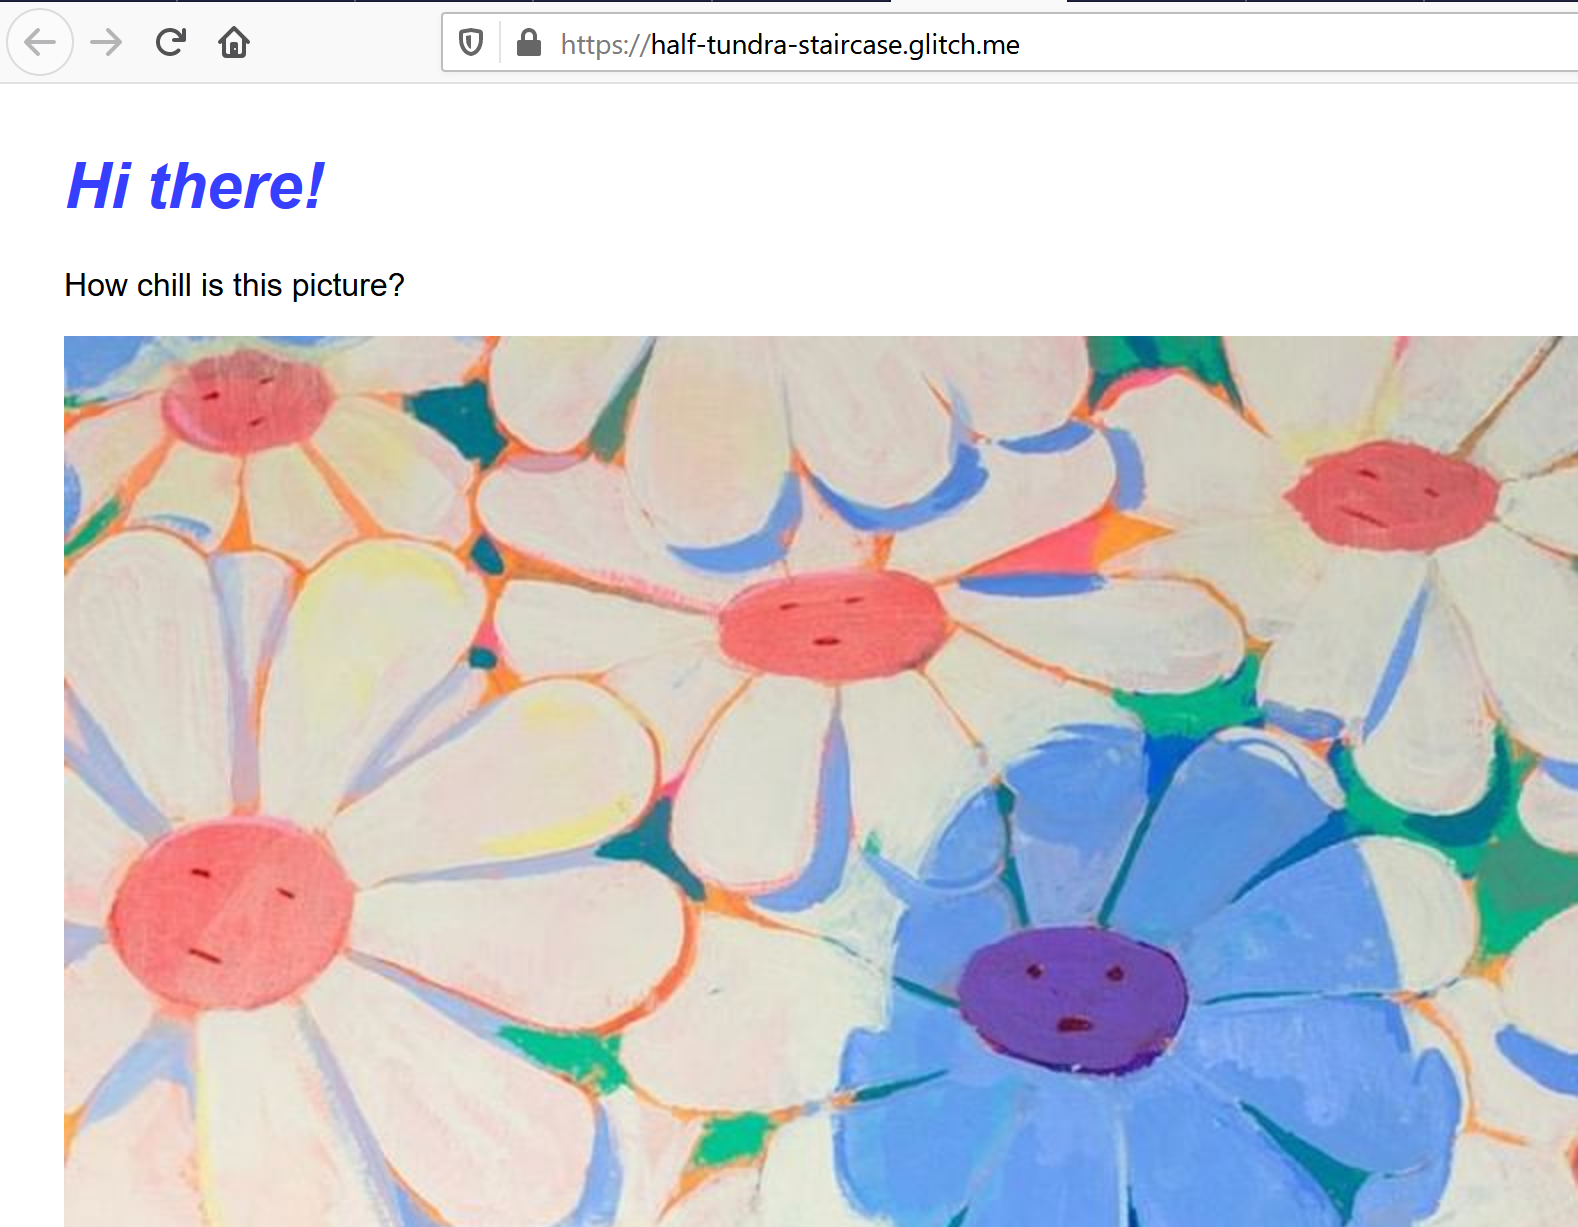
To upload an image to your Glitch project, just drag it into the editor, and it will become an Asset. Go to Assets, click your image, and click the Copy URL button. This is what you’ll put in the src property of an image.
For now, throw some stuff on your page so that we can play with it in the browser.
Finding good info
By the way, to look up an HTML element and its properties, the best place is Mozilla Developer Network. Here’s the MDN docs for an img tag.
CSS (Cascading Style Sheets)
CSS is about adding styling information to the structure of your HTML. Look at style.css in your Glitch project.
You can add a class attribute (and/or an id attribute) to any HTML element. I avoid id and use classes for everything, for reasons I won’t go into…
Your style.css file currently applies a style to the body element and all h1 elements alike, which is fine.
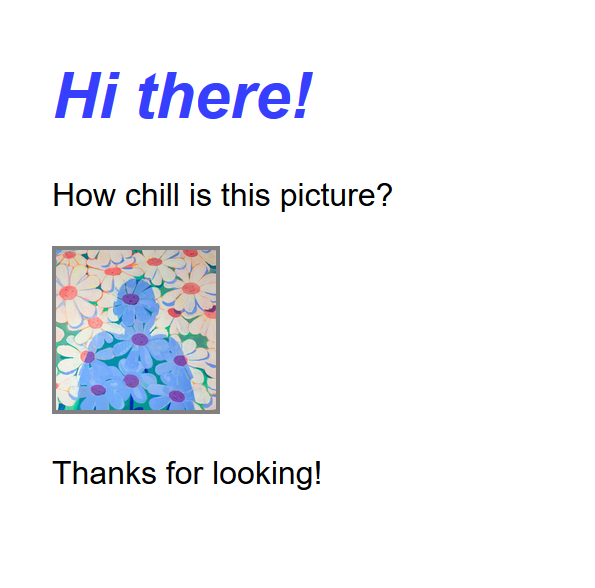
Say you just wanted to make some images on your page into thumbnails. You could add the thumbnail class to the HTML (this won’t do anything yet):
<img class="thumbnail" src="..." alt="My photo" />
Now in your style.css, add a rule starting with a . to say that we want to style a class, .thumbnail:
.thumbnail {
	width: 5rem;
	border: 2px solid gray;
}
Don’t sweat the details just yet. Make sure to put semicolons between each rule. This should make your image display smaller:
To learn more about all the ways of ‘selecting’ elements using your CSS, try out this neat CSS Diner game.
There are loads of CSS libraries and frameworks. Some do more than others, some are “opinionated” about design, some are not. The most popular of all is probably Bootstrap, which is an opinionated framework that makes it easy to make fairly good looking sites quickly once you learn its classes. My preference is for unopinionated and “atomic” CSS, and my favourite library is Tachyons.
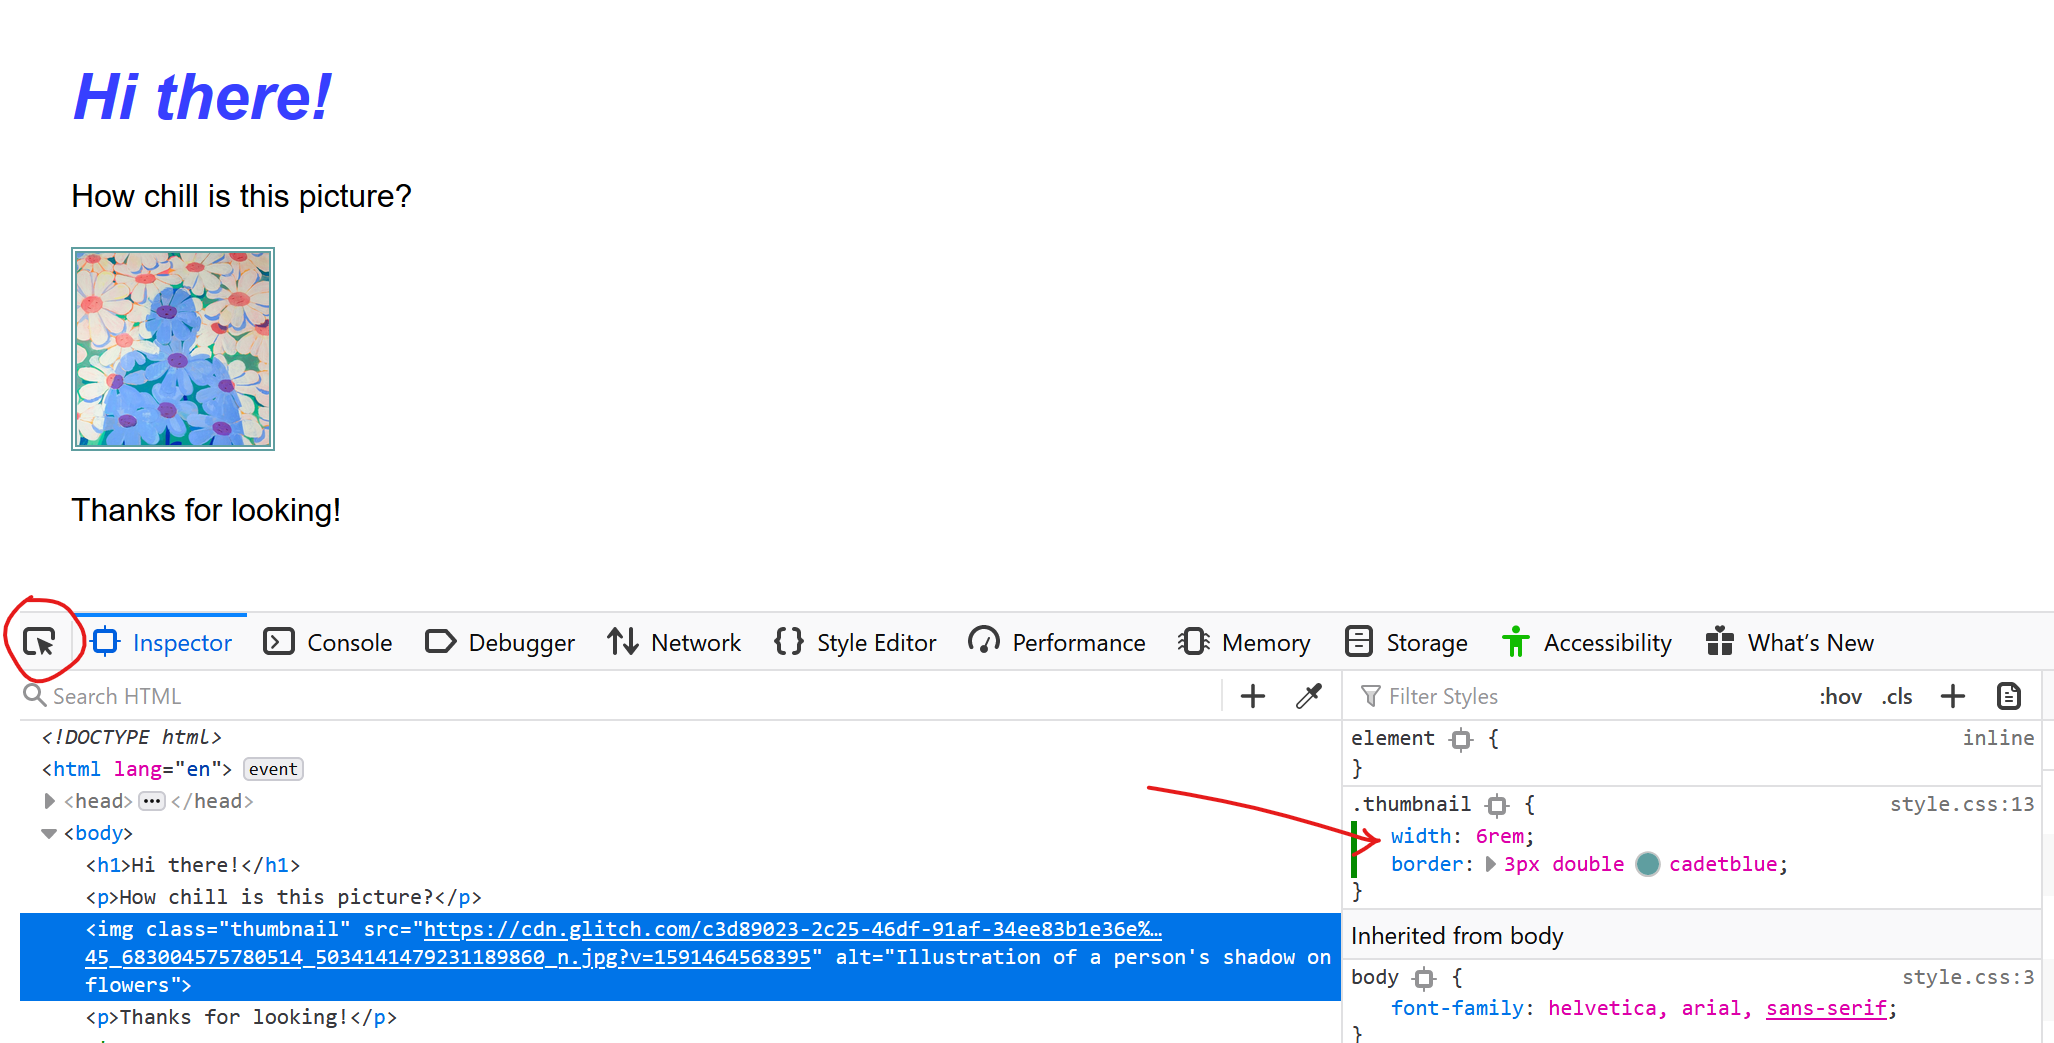
Use the browser DevTools
In your web browser, usually the F12 key will open the DevTools. (See Safari notes)
This lets you look at the source of a website, inspect elements, and mess with the HTML and CSS in real-time. It doesn’t make permanent changes; they’ll be lost if you refresh and you can do this on any site. I’m using Firefox in the screenshots.
There will be a DevTools button to select an element from the page. Find it, then click one of your elements. You can add and change CSS rules, edit the HTML itself, add and remove classes, whatever! Have a play with this.
A little design
Let’s just make something a little less one-dimensional…
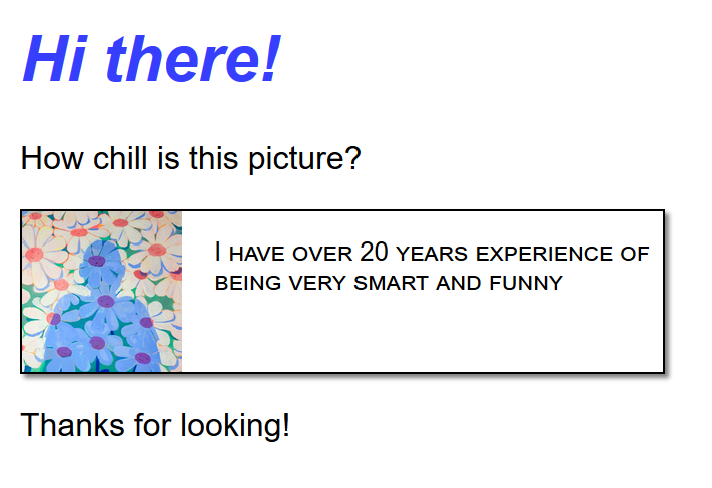
Wrap up an img and a p tag inside a div:
<div class="card">
	<img src="..." alt="My face" class="thumbnail" />
	<p>I have over 20 years experience of being very smart and funny</p>
</div>
Let’s make some CSS (feel free to go freestyle):
.card {
  display: flex;
  width: 20rem;
  border: 1px solid black;
  box-shadow: 2px 2px 2px gray;
}

.card p {
  font-variant: small-caps;
  font-size: 0.8rem;
  margin-left: 1rem;
}

.thumbnail {
  width: 5rem;
  height: 5rem;
}
Notes:
display: flexis a quick and easy way of making things inside a box go side-by-side..card pmeans anypinside something with classcard.
Borrowing from the best
Go on any website you admire, and open the DevTools to poke around. How did they style their elements that way? How does it hang together?
Don’t worry if it’s overwhelming. Some sites are built by tools like Wordpress that add loads of cruft, and we will make gradually more complex sites as we go along 😉
But that’s enough for today’s lesson!
Further reading:
Have fun!